Video & Photo Setup

The gear I use for all of my videos and photos. I'm always updating this page, so check back regularly to see any updates to this setup.
Camera
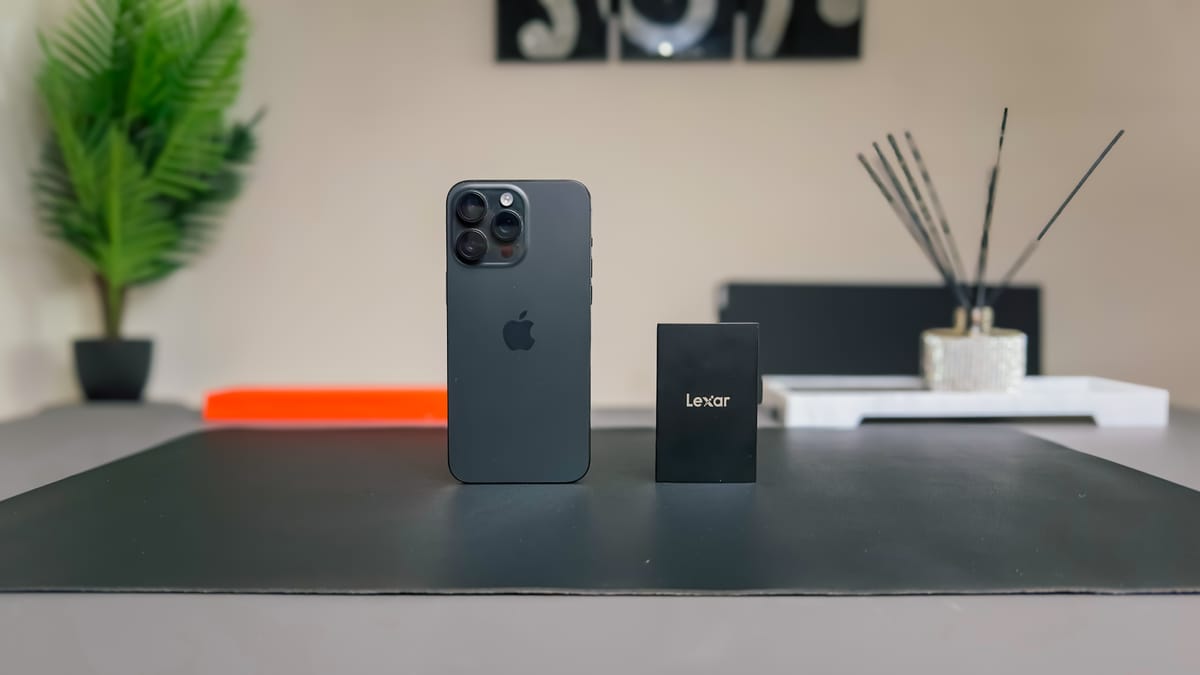
For video, I'm currently using the iPhone 15 Pro Max, shooting everything in 4K using Apple Log with the h.264 codec. For A-Roll I shoot at 24fps, and for moving B-Roll shots I shoot at 60fps and slow the footage down in-post. I have the shutter speed set to double the frame rate (e.g. 1/48 for 24fps), and I usually keep the ISO between 80-160 depending on the lighting conditions.
I shoot everything inside of the BlackMagic Camera app. When it comes to colour grading, I apply one of my Apple Log LUTs designed specifically for the iPhone.
Lighting
Neewer CB60B Light - the main key light I use in all my videos. It's plenty bright, and gives you full control over the brightness and temperature. There's an app which lets you control these settings too.
Neewer Photography Light Stand - plenty of height adjustment, ranging between 92-200cm, and can handle loads as heavy as 8kg which is more than plenty for me.
Neewer Softbox 65cm - this is the key to getting that soft lighting you see in my videos (also comes with a honeycomb grid). I find that the smaller lenses on iPhone cameras a particularly sensitive to harsh lighting (usually results in an overexposed image), so it's important to ensure you have a soft light source.
Luxeco RBD LED Wand - the tube light you see in the background of the A-roll in my videos. I'd recommend having some sort of accent lighting so that your background isn't pitch black.
Audio
Shure MV7+ - the microphone I use in most of my videos. Connects straight to my MacBook via USB-C (you can connect it to a transmitter if you like). Audio quality is phenomenal.
DJI Lav Mic II - wireless mic system I use for unboxing reviews and vlog style videos. Probably the mic I would recommend if you're just getting started out. I got the single version without the wireless charging case because it was way cheaper, but you can opt for the more expensive model if you have the budget.
External Drives (SSDs)
Lexar SL500 2TB - extremely compact and portable. It was designed specifically for the iPhone, and has super fast speeds that make editing off my Mac super easy. I'd recommend going for 2TB over 1TB if you can afford it - I initially got 1TB thinking I was being clever, but ended up running out of space within a couple of months.
SanDisk Extreme Portable 1TB - not a huge fan of this SSD. It requires more power than the iPhone can supply, so you'll likely get dropped frames when using it. And I find that the drive gets quite warm when connected to my Mac. But I thought I'd include it anyway in case anyone wants to take the risk 😁
Tripods
Atumtek 55" Tripod - this is very much a budget option, great for beginners. You get a good amount of height adjustment, and can mount the phone horizontally or vertically for short-form videos. Main downside is that the stand can get wobbly at times, and at this price point you won't get much tilt adjustment
Music
I get all of my music from Epidemic Sound. I tend to opt for synth/LoFi beats in most of my videos. Artists like Ben Olson and Sarah the Instrumentalist are some of my favourites!
Monitor
BlackMagic Camera app - this app has a feature called Remote Camera Control that lets you mirror and control your iPhone's camera directly from your iPad. It's not as good as Apple's Multicam feature on Final Cut Camera (you get about a second of lag), but considering it's free I can't really complain (Final Cut on the iPad costs $4.99 per month!).
Apple Studio Display - mainly use this display for the brightness and colour accuracy, which is important when colour grading (I find that the display on my MacBook Air doesn't get bright enough for me to see my colours properly)
Software
Final Cut Pro - my main video editing app. It's pretty easy to learn, and there are plenty of tutorials/plug-ins online
Adobe LightRoom - where I edit all of my photos. Main advantage is having access to presets which let me quickly batch edit loads of photos to get the same style.
Pixelmator Pro - where I edit my thumbnails and any graphic design elements you see across my channel. I find it's a much cheaper alternative to Photoshop (it's a one-time purchase, so no messing with subscriptions), with 90% of the features and a lot less clutter.
If you found this guide helpful, you might want to sign up to my monthly newsletter, where I unpack lessons, experiences and thoughts regarding tech and my journey as a content creator on the internet. If that sounds like your sort of thing, consider signing up below (it's free!).
As an Amazon Associate, I may earn from qualifying purchases. So please use my links when purchasing so I can get a kickback 🙂